

Discord: Start an Activity
How to level up the team spirit in your company!
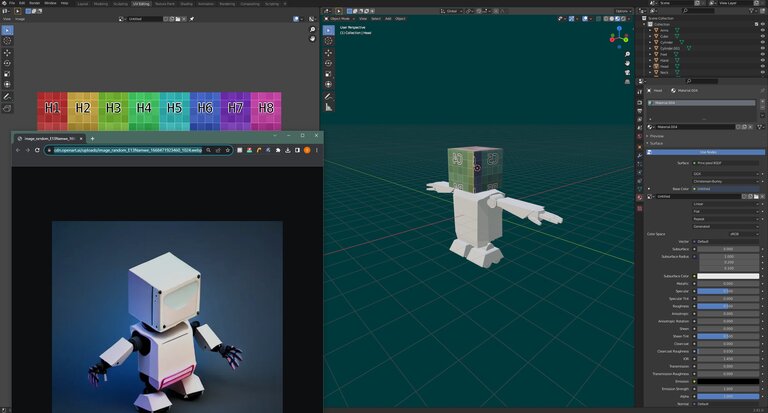
Texturing
Introduction
This blog answers the question of what texturing is. I will use a studio project as an aid, which involves creating a robot for a game.
I will briefly go through the structure of a 3D model, then go into UV mapping, then explain the node tools and finally the baking.
I realise that there has already been a similar article, but this one will be more detailed and subject-specific.
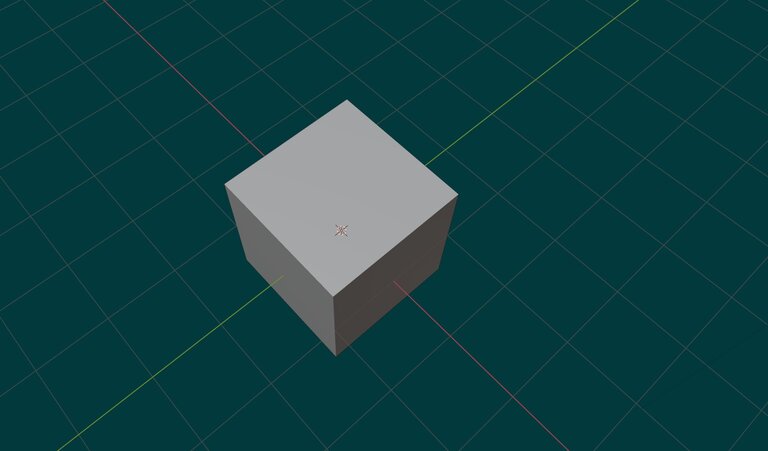
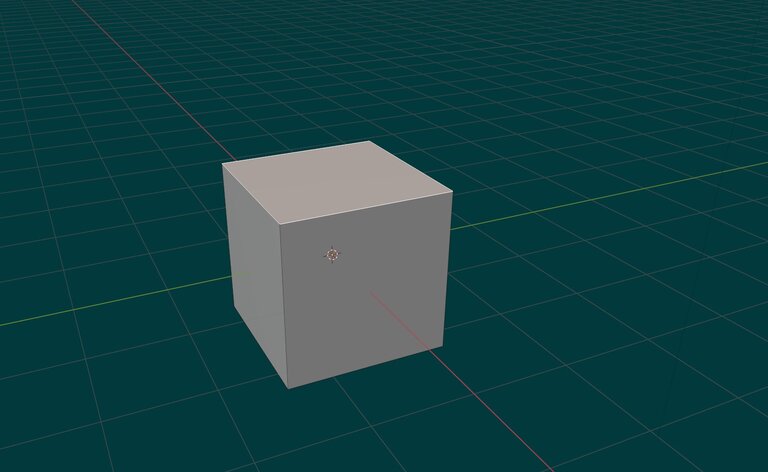
Over the last few days, I've been asked a lot what a 3D modeller actually does. At first I was puzzled, because for me this question was just a background thought. However, the work of a 3D modeller is difficult to describe as there is a lot to consider. In the end, I came to this answer: 3D modelling is like making a paper figure. You use coloured sheets of paper, folded correctly, to create a shell that is supposed to represent an object.
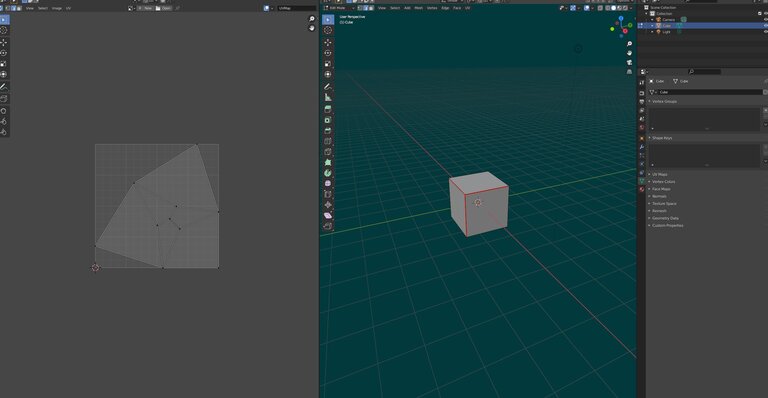
In most cases, this envelope can be divided into quadrangular surfaces by folding points (even if this is not always necessary in digital space). The corners of these can be moved in space according to the three-axis principle. This makes more complex creations possible.
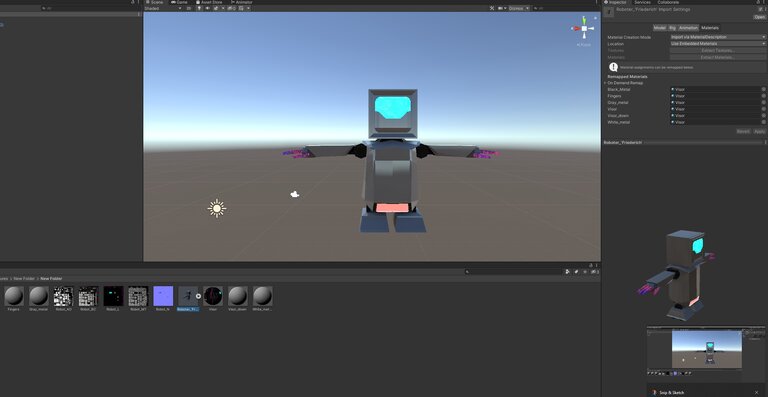
This brings me back to the main object of this blog, the robot. This represents an object made up of several paper figures, clad in lots of coloured leaves.
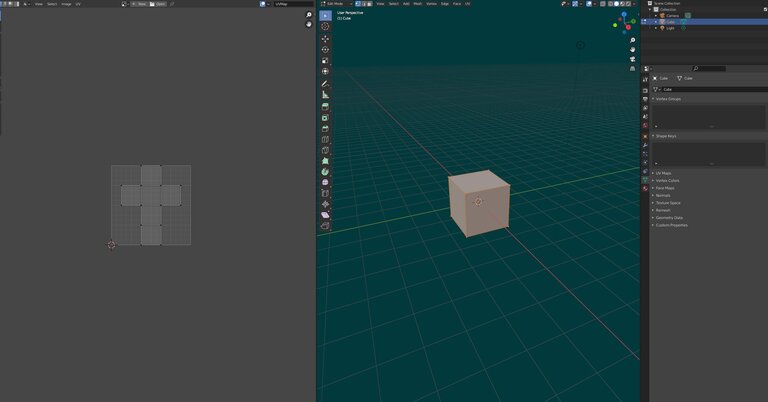
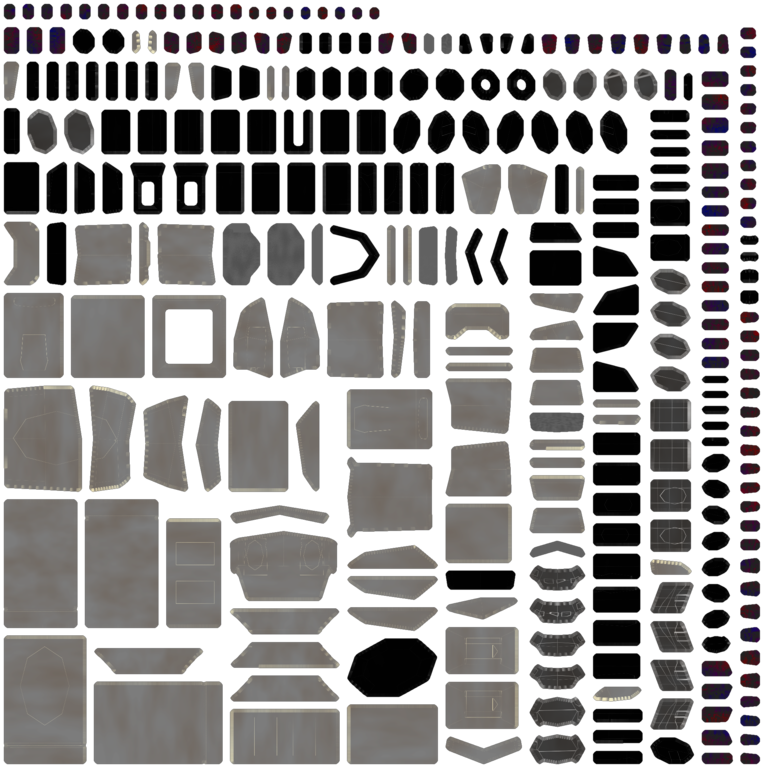
The term UV mapping means cutting and laying down the envelope on a 2D space, as you would do when measuring the surface of a cube, for example. This is necessary in order to be able to apply the textures correctly. cutting lines can be created using the Smart UV-tool or by yourself. surfaces themselves can also be moved, scaled and rotated on the UV-map. As the robot consists of several individual objects, I will later combine them into a texture atlas.
There are generally two methods available for editing a texture:
Both methods can be combined freely – depending on your needs, you can switch between manual painting and node tools at any time.
Since I initially had little experience with node tools, I started by painting everything by hand.
During my first attempt, I made a mistake in arranging the UV maps. So I started a second attempt — this time incorporating the node system.
I frequently used the following tools:
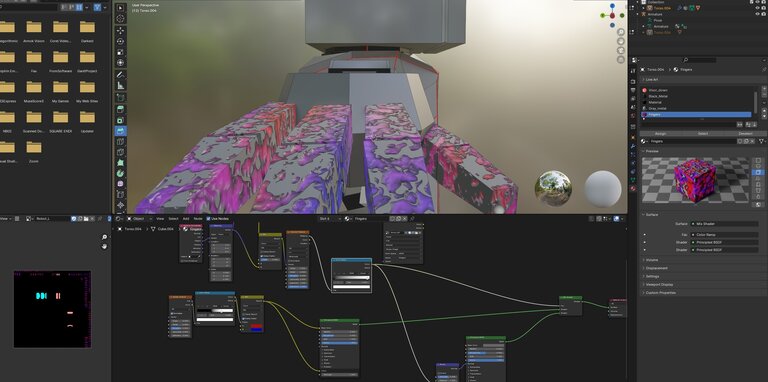
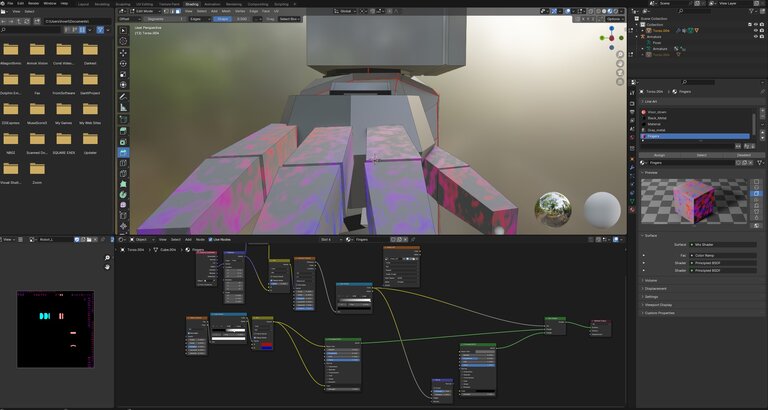
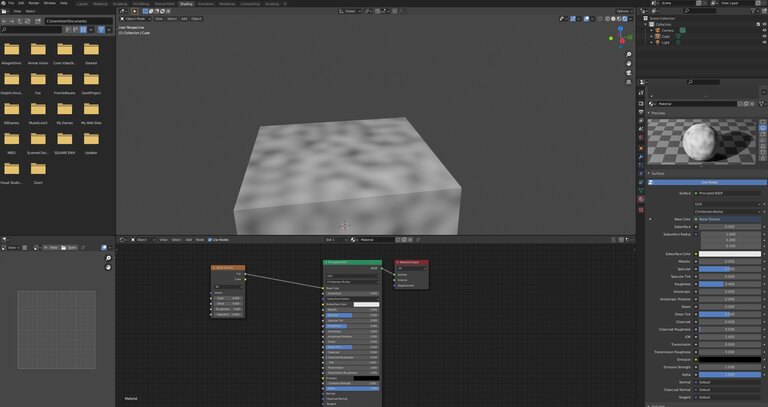
The Voronoi texture generates a pattern by randomly selecting points on a surface and creating outward-growing cells around them. You can read more about it here: Blender Voronoi Texture Documentation →
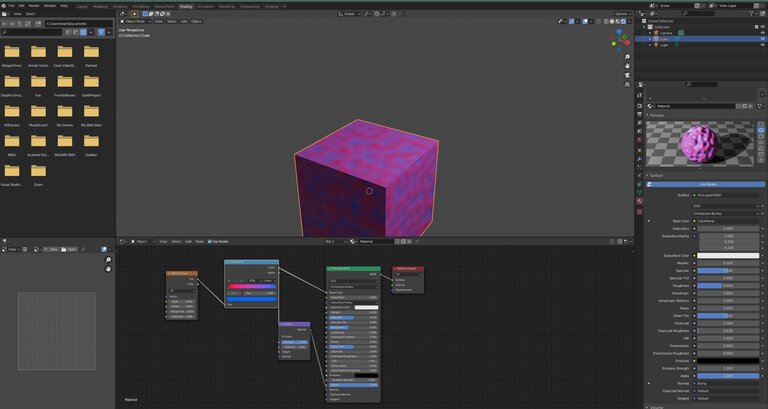
Tip: Combining Voronoi textures with noise textures creates a highly convincing metal scratch effect. For even more realism, connect the Voronoi texture to the Normal input. This input uses a normal map to simulate light reflections and shading, giving flat textures the illusion of depth.
With noise maps, each pixel has a random value. This value is represented by colours or in black and white, and values such as the aforementioned colours can also be converted into any other colours using colour ramps.
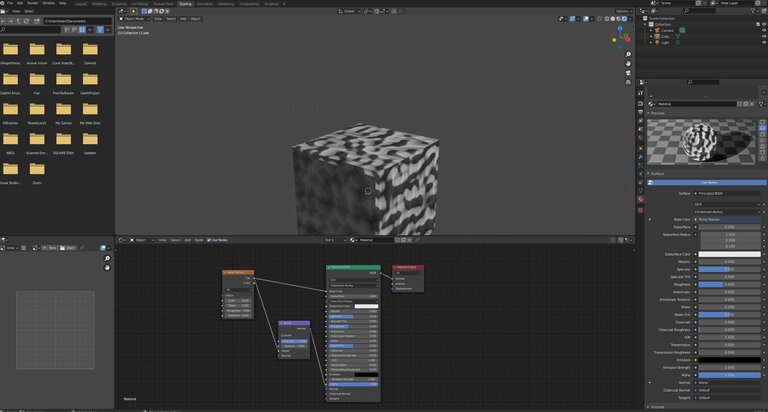
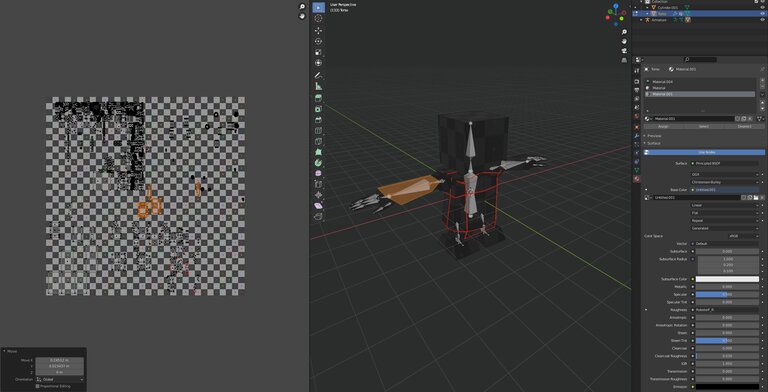
Shaders have different inputs which are aimed at different attributes of the texture, for example emission, which reflects the luminosity of the object, or height, etc. Sometimes it is useful to mix two shaders together, such as in the scratched metal shown above.
The last step I had to carry out in Blender was baking. During baking, the texture is captured as it is at the moment and saved. This is necessary to transfer it to Unity. This is also divided into different maps for different attributes.
I hope that this article has brought some understanding. Of course I have not been able to explain everything as this would have taken considerably more time. Instead, I have limited myself to the details that are important to me and explained them reasonably accurately. Blender and other 3D design websites are becoming increasingly important in this day and age, so it never hurts to read up on them. Other tools
We hope you like our article and would like to invite you to share your thoughts and questions on the topic with us. If you have any questions, comments or feedback on the content of this article, please don't hesitate to let us know in the comments section. We're always happy to hear from our readers and engage in meaningful discussions about game development.
Just ask us anything you want to know and we'll do our best to provide the answers you're looking for. Thank you for your support and we look forward to hearing from you!
How to level up the team spirit in your company!
Unity modernizes the user interfaces and functionalities for developers. UIToolkit is intended to be a simplified solution for UI element creation and…
The Unreal Engine 5 sets new standards in terms of photorealistic graphics. New rendering technologies like Nanite play a decisive role in this. But…
Write comment